I’d like to introduce you to a delightful 6-year old who will become my sister’s stepdaughter next year … (will that make me a step-aunty?). My sister is obviously failing to live up to the evil stepmother cliché but instead has been busy in the kitchen stirring up wonderful magic and regal surprises. Here’s the tale of Rose Fairy …
Rose Fairy writes letters to me. I make houses for her out of boxes and glitter. Lucy and I read a story called The Fairies Cupcake Ball (we borrowed the book from Kate, L, M and T) which is about a girl called Flossie and she dresses up when she’s cooking. Flossie and her Mum bake cakes for fairies. We chose the recipe for Queen Rosie’s Royal Rose Cupcakes because we were making them for my Rose Fairy.

We chose special ingredients to make the cake taste of rose and we decorated them.
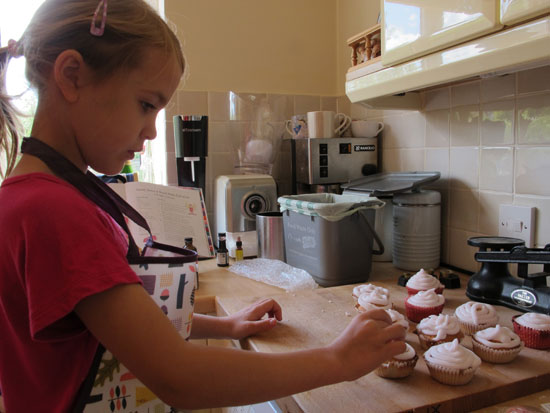
Here’s me putting the decorations on the cakes.

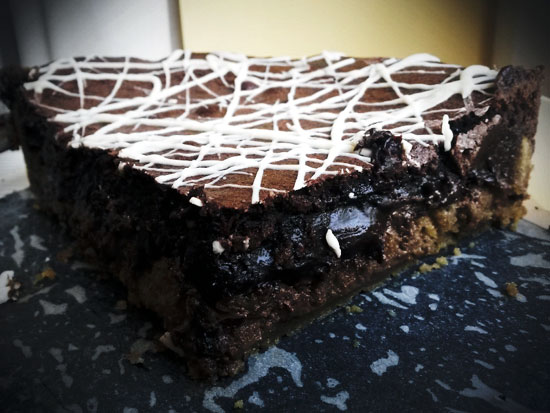
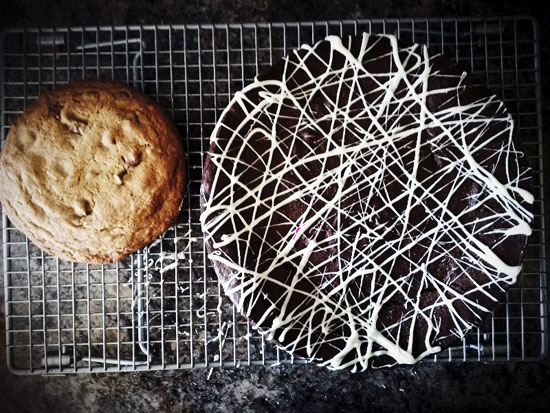
This is the cake I decorated for Rose and her friends.

In the afternoon, I made a fairy house for Rose. I used a shoe box and made a bed and a bath for Rose. I used a match box for Rose’s bed. I made some perfume for her too. I used rose water and a drop of food colouring and put it in a tiny perfume bottle. Wainwright, the dog, got very messy because he got pink paint on his chin! My Dad loves clearing up glitter…especially when he gets all sparkly!!


The inside of the house
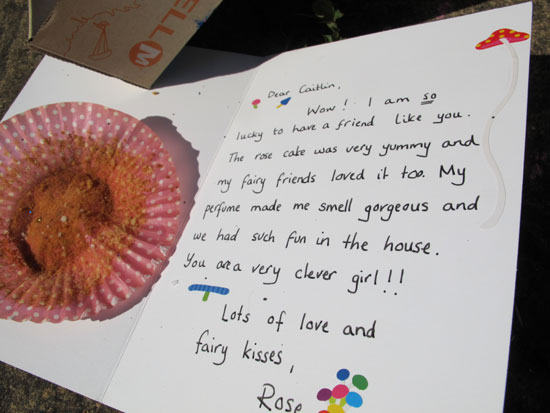
In the evening, I put the house outside before I went to bed. I left out the special cake for Rose. The next morning, Rose had left me a card and she’d eaten the cake with her friends. There were crumbs all around the house and in the friends’ bed!
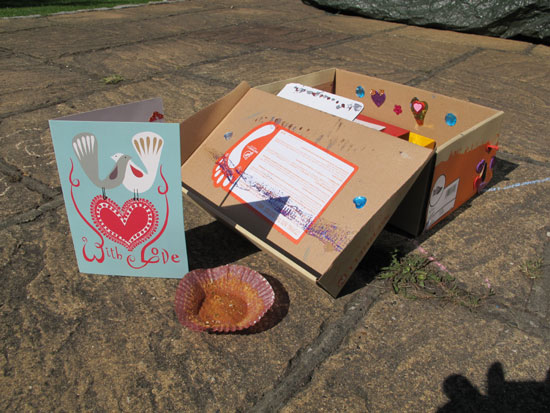
This is what she did.
It’s really fun making houses and cakes for Rose.
Amazingly, my tooth fell out the following day so I was lucky enough to be visited by two fairies on two nights!
Queen Rosie’s Royal Rose Cupcakes
Ingredients
Cakes
115g sugar
115g softened butter
115g self-raising flour
2 eggs (we used medium organic)
½ teaspoon rose water
Icing
25g melted butter (only we forgot that bit and it worked out fine!)
400g icing sugar
4 tablespoons cold water
A few drops of natural pink food colouring
Finishing Touches (all bought from Cake Expectations)
Pink icing roses
Edible diamonds
Jelly roses
Method
Ask a grown-up to turn on the oven to 190 degrees C
Mix all the cake ingredients together really well.
Put 12 cupcake paper cases into a 12-hole fairy cake tin and spoon the mixture evenly between the cases.
Bake for 15 minutes and then ask a grown-up to place them carefully onto a wire rack to cool.
When cool, place all of the icing ingredients into a mixing bowl and mix them together for a few minutes. You might need some help with this because it’s really stiff.
We used a piping bag to swirl the icing onto the cakes but you can just use a warmed teaspoon if you don’t have the icing bag and nozzle.
The best bit is decorating the cakes – have fun!