First Arabesque Birthday Muffins

The two most important things in life are birthdays and ballet. But not in that order ….

Welcome to life according to M. Where once as a 4-year old she lived for rainbows and unicorns, she’s now 11 years old and her life (and therefore mine too!) revolves around ballet. As she writes on her ballet blog, First Arabesque …….

Small girl, big imagination.

So when it came to baking some birthday muffins, it was inevitable that ballet would find its way into the mixture.

It started with 4 oz of butter and 7 oz of caster sugar …

… which were creamed and then beaten together with 2 large eggs and 1 1/2 tsp of vanilla extract.

8 1/2 oz of plain flour was sifted with 2 tsp baking powder and 3/4 tsp salt, then stirred into the mixture alternatively with 120 ml of milk.

There was definitely no licking of fingers.

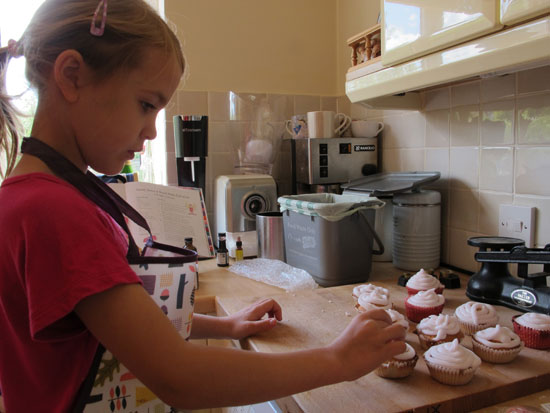
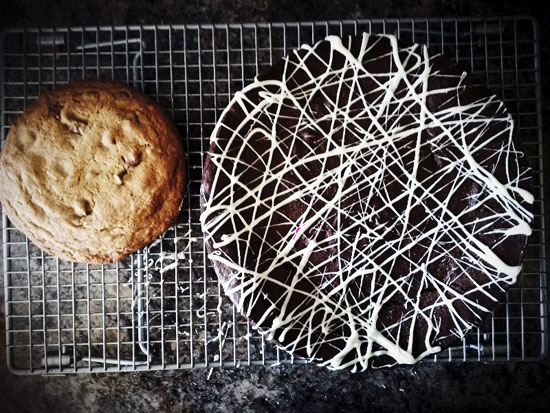
The mixture was spooned into 12 muffin cases ….

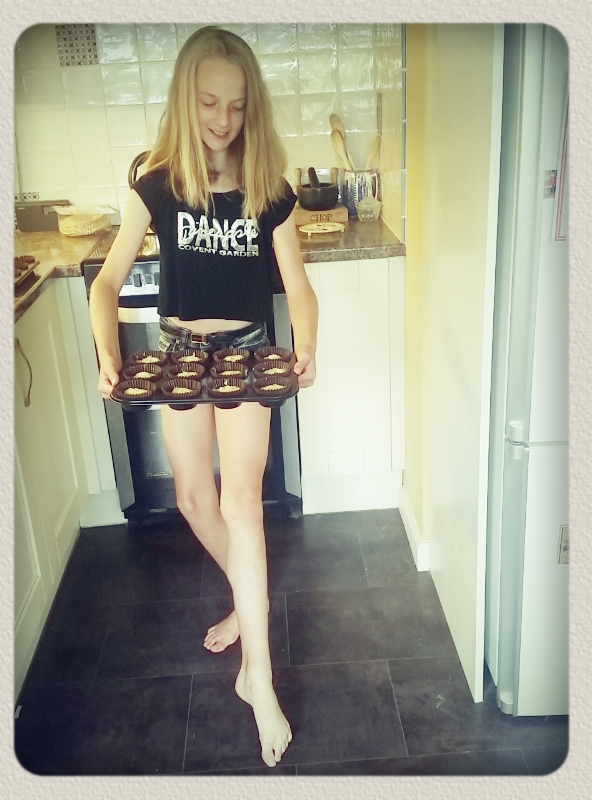
…. and baked at 180 degrees C for 30 minutes.

Although she is now 11 years old, I get the impression that she still believes a messy kitchen can be cleaned as if by magic …

The ballet company were invited over to decorate the muffins ….

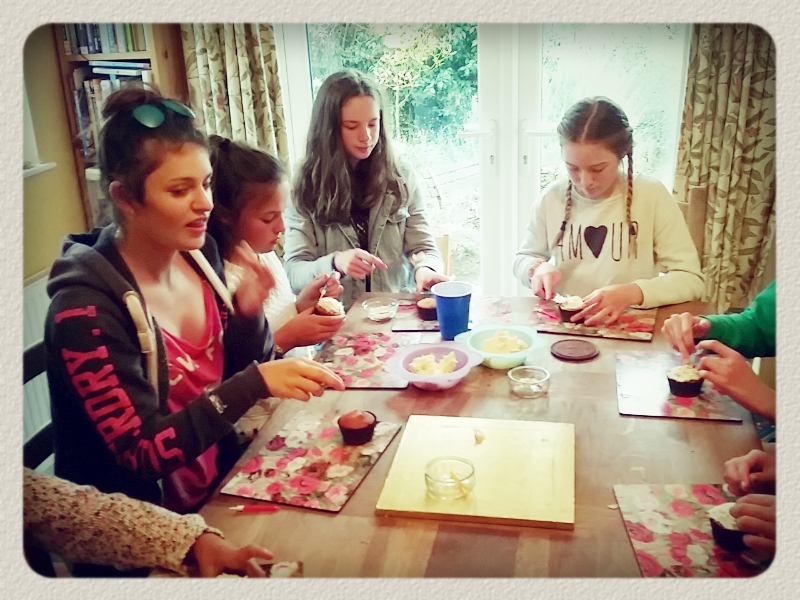
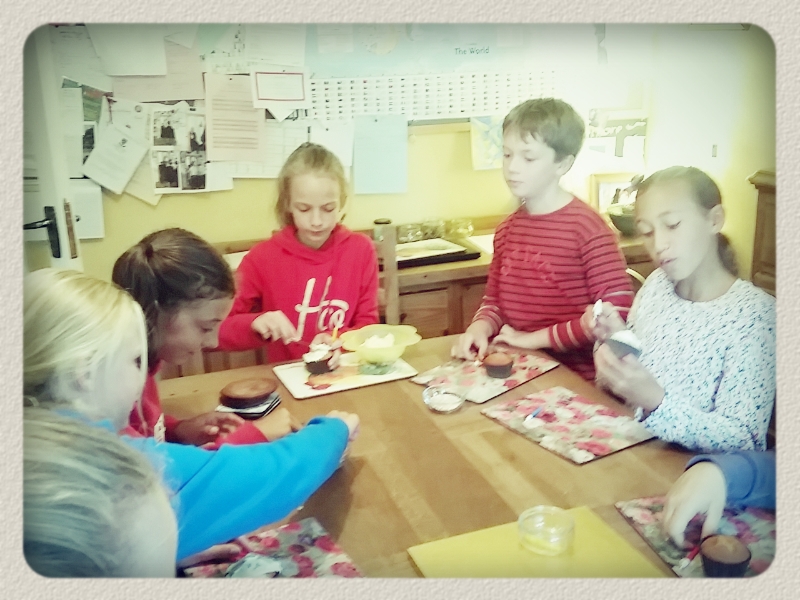
…. and to sing Happy Birthday (which was only 3 months late, M’s actual birthday having been in June!)

A special request to anyone who has read this far ….. Please head over to M’s blog and say hello – it would make her day!

Queen Rosie’s Royal Rose Cupcakes

I’d like to introduce you to a delightful 6-year old who will become my sister’s stepdaughter next year … (will that make me a step-aunty?). My sister is obviously failing to live up to the evil stepmother cliché but instead has been busy in the kitchen stirring up wonderful magic and regal surprises. Here’s the tale of Rose Fairy …

Rose Fairy writes letters to me. I make houses for her out of boxes and glitter. Lucy and I read a story called The Fairies Cupcake Ball (we borrowed the book from Kate, L, M and T) which is about a girl called Flossie and she dresses up when she’s cooking. Flossie and her Mum bake cakes for fairies. We chose the recipe for Queen Rosie’s Royal Rose Cupcakes because we were making them for my Rose Fairy.

01

We chose special ingredients to make the cake taste of rose and we decorated them.

02

Here’s me putting the decorations on the cakes.

03

This is the cake I decorated for Rose and her friends.

04

In the afternoon, I made a fairy house for Rose. I used a shoe box and made a bed and a bath for Rose. I used a match box for Rose’s bed. I made some perfume for her too. I used rose water and a drop of food colouring and put it in a tiny perfume bottle. Wainwright, the dog, got very messy because he got pink paint on his chin! My Dad loves clearing up glitter…especially when he gets all sparkly!!

05

06

The inside of the house

In the evening, I put the house outside before I went to bed. I left out the special cake for Rose. The next morning, Rose had left me a card and she’d eaten the cake with her friends. There were crumbs all around the house and in the friends’ bed!

07

This is what she did.

08

It’s really fun making houses and cakes for Rose.
Amazingly, my tooth fell out the following day so I was lucky enough to be visited by two fairies on two nights!

Queen Rosie’s Royal Rose Cupcakes

Ingredients

Cakes
115g sugar
115g softened butter
115g self-raising flour
2 eggs (we used medium organic)
½ teaspoon rose water

Icing
25g melted butter (only we forgot that bit and it worked out fine!)
400g icing sugar
4 tablespoons cold water
A few drops of natural pink food colouring

Finishing Touches (all bought from Cake Expectations)
Pink icing roses
Edible diamonds
Jelly roses

Method

Ask a grown-up to turn on the oven to 190 degrees C

Mix all the cake ingredients together really well.

Put 12 cupcake paper cases into a 12-hole fairy cake tin and spoon the mixture evenly between the cases.

Bake for 15 minutes and then ask a grown-up to place them carefully onto a wire rack to cool.

When cool, place all of the icing ingredients into a mixing bowl and mix them together for a few minutes. You might need some help with this because it’s really stiff.

We used a piping bag to swirl the icing onto the cakes but you can just use a warmed teaspoon if you don’t have the icing bag and nozzle.

The best bit is decorating the cakes – have fun!

Choc Chip Cookie Brownie Cake

Five years ago today, I wrote about rainbows and unicorns. That was when M was four years old, and the Rainbow Cake that I made for her birthday soon became one of my most visited posts on A Merrier World. Now, little M has just turned nine and the rainbows and unicorns have grown up into cookies and brownies.

vslice

And M herself is not so little now, either. Her ‘good toes and naughty toes’ have transformed into Junior Associate feet of The Royal Ballet School

balletchillout

But there is still plenty of time for dreams …

inthewings

… and choc chip cookie brownie cake.

cutslice

side

top

Choc Chip Cookie Brownie Cake

Cookie base
8 oz butter
5 1/2 oz golden castor sugar
6 oz light muscovado sugar
1 tsp vanilla extract
2 large eggs
13 oz strong white flour
1 tsp baking soda
1 tsp salt
12 oz choc chips

Brownie top
5 oz butter
9 oz castor sugar
3 oz cocoa powder
1/4 tsp salt
2 eggs
1/2 tsp vanilla extract
2 1/2 oz plain flour

Preheat the oven to 180 degrees C.

Grease and baseline a circular 9″ springform pan.

To make the cookie base, cream the butter and sugar. Add the vanilla and eggs gradually, beating to incorporate. Mix together the dry ingredients then stir into the dough. Stir in the choc chips.

Press the cookie dough into the base of the prepared pan (I filled it to about 1/3 full and used the leftover dough to make a giant cookie, about the size of my hand …)

Put the pan in the fridge while you prepare the brownie batter.

To make the brownie topping, melt the butter, sugar, cocoa and salt together in a bowl over a pan of hot water. It will look like it’s never going to come together, but it does …

Remove the bowl from the heat and stir in the eggs, one at a time. Stir in the vanilla.

Fold in the flour, then give the batter a good stir for about 5 seconds to strengthen it a little (there isn’t much flour in the recipe, so it’s okay to develop a bit of gluten to give the brownie some structure).

Remove the springform pan from the fridge and pour the brownie batter on top of the cookie dough. Level the top.

Bake in the centre of the oven for 30 to 35 minutes.

Cool for 10 minutes in the pan, then loosen the sides and remove the springform ring.

Cool completely (I left the cake on the base of the pan because I didn’t want to risk losing the whole thing if it collapsed while I tried to unstick it … nobody seemed to mind and it made it easier to carry to M’s ballet class!).

Melt some white chocolate and use a fork to drizzle over the top in a pretty pattern.

Another Slice of Rainbow

A long, long time ago when M was only four, I baked a rainbow cake for her birthday. Even though she is now all growed up and turned a humongous seven years old yesterday, she still remembers her last slice of rainbow.

“I have to take a cake into school for my birthday on Wednesday,” she told me as we walked in the shade of the Roman city walls on Monday afternoon.

“And it has to be a rainbow cake.”

Sometimes, it’s best not to question dreams too closely …

Witches Broth (or Pea and Mint Soup)

I first met this soup at a Mother’s day lunch and never imagined that I’d be calling it Witches’ Broth and serving it up myself a few years later at a Hallowe’en party. I should assure you that this renaming says more about the thick green colour of the soup than it does about my views on motherhood …

It is hardly a well-kept secret that Hallowe’en ranks high on my list of all-time favourite festivities. It comes at a magical time of year when the days are shortening, the air is cooling and the trees are resplendent in their cloaks of fiery colours. The children’s excitement is on a par with that of Christmas in our house as they delve deep down into their dressing-up box to pull out black gowns, orange and green-striped stockings, pointed hats and vampire fangs. We decorate the house with silvery cobwebs, read stories of errant witches and shiver at the bone-rattling skeletons in Berlioz’ dream of a Witches’ Sabbath.

I think that what makes this festival particularly special for me is that there are no pre-conceived ideas about what form the traditions should take and no expectations of receiving presents among our children. They enjoy themselves enormously through the simple pleasure that comes from sparking their imaginations and partying with friends.

Unlike in the depressing scene depicted by William Langley, we have amiable neighbours who are happy to collude in a little organised trick-or-treating, while our costumes and party trimmings are largely homemade and provide an opportunity for creative fun.

Far from being an imported custom, the roots of Hallowe’en extend further back in Britain than those of the seemingly more traditionally-celebrated Guy Fawkes night. In fact, the origins of Hallowe’en practices in America can themselves be traced to the arrival of Scottish and Irish immigrants during the nineteenth century.

So pull up your cauldrons, grab your wooden spoons and join us for a warming bowl of witches’ broth 🙂 .

Witches Broth: Pea and Mint Soup (adapted from a recipe by Charlotte Kilvington)

2 oz unsalted butter
1 large onion, peeled and chopped
600 mls chicken stock
2 lb frozen peas
1 head of firm lettuce, eg. Iceberg
a handful of fresh mint, chopped
300 mls milk

Melt the butter in a large saucepan. Add the onion and fry gently to soften.

Add the stock and frozen peas. Bring to the boil and simmer until the peas are tender.

Add the lettuce and mint. Continue cooking until the lettuce has wilted.

Stir in the milk.

Blend in a food processor and season to taste.

Serve with a swirl of single cream on top – pull through from the centre outwards with a toothpick to create a spider’s web.